When you are designing your layout with CSS, you’ll often position elements either up/down or left/right. The z-index allows us to move elements on a 3rd dimension on the Z-axis, with a stacking effect (on top of each other).
The z-index property takes either the auto keyword or an integer. These are all valid declarations:
z-index: auto;
z-index: -1;
z-index: 9999;
Note: In order for the z-index to apply, we need to also position elements, using the position property either as relative, absolute or fixed. If no position is specified it will be the same as applying z-index: auto and no stacking context will be applied.
With that in mind, let’s take a look at an example.
Let’s Position Some Guinea Pigs
You can check this example at Codepen. Play around with it and code with me!
We’ll be placing two Guinea pigs, or Cuys (which sounds way cuter). Let’s imagine we are in summer so it’s 90+ degrees outside. Cuy#1 will be placed inside a lake, she’ll have a good time. Cuy#2 is very lazy so we need to give him some coffee to wake him up! So we’ll stack our Cuy#2 with the coffee so he can drink it.
Without any positioning or CSS our images look more or less like this:
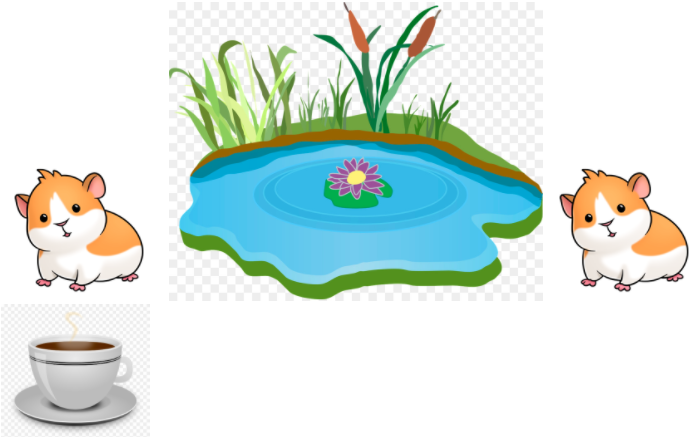
The idea is to create a stacking context using z-index to then position some images on top of the lake and the coffee.
Also, remember we need to add positioning to our elements in order for z-index to apply. Let’s go ahead and position our Cuy#1:
img.cuy.one {
  position: absolute;
}
Where the hell is our friend? Let’s go ahead and add a higher stacking context so it is on top of the lake:
img.cuy.one {
  position: absolute;
  z-index: 1;
}
Yay! Our cuy is on top of the lake. We now need to add some padding to place it inside the lake, but I’ll leave you to play with that.
Now that we know how to create a stacking context using z-index, we can place our second animal very easy:
img.cuy.two {
position: absolute;
width: 160px;
padding: 100px;
z-index: 1;
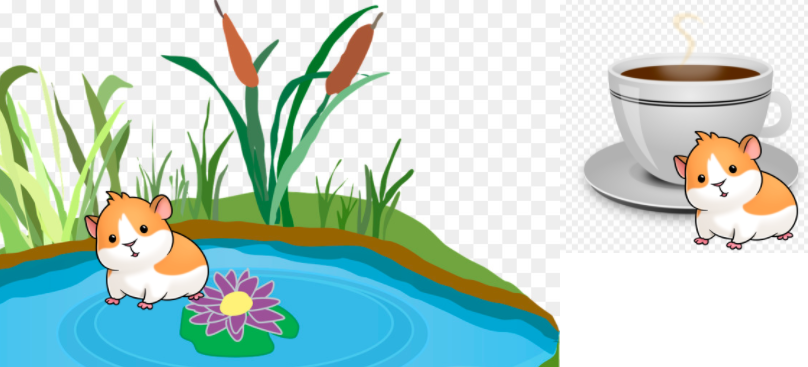
}Again padding will be for exact positioning of the image, and width is used to only specify the size of our little friend. With this, we have finished our task and everyone is happy and feels refreshed:
Conclusion
Playing around with z-index makes way for interesting layout ideas. On the Codepen I have also provided a second example of a pop chat design positioned and with z-index on top of everything. Check it out!
Do not forget that you must always position elements or your z-index will not work. Try to play around the Codepen by removing the positioning and see it for yourself.
Another recommendation is that you must apply z-index to sibling elements. In our examples our images were not nested and were siblings (side-by-side). If you have deeply nested elements, z-index might not work as expected. So have that in mind.
About us: Career Karma is a platform designed to help job seekers find, research, and connect with job training programs to advance their careers. Learn about the CK publication.